Paint Builder basics
Paint Builder gives you the tools to create your own custom paints for iRacing from your web browser when you upgrade to Trading Paints Pro.
Key features of Paint Builder include:
- Create fully unique paints by customizing colors, base paints, inserting graphics & logos, adding text, drawing shapes, and uploading your own layers
- Purpose-built features for iRacing’s painting templates
- Customizable painting guides like masks, wireframes, sponsor & number placement blocks, and grids
- Hundreds of original, exclusive vector-graphic design elements and fictional company logos
- Custom-uploaded logos and graphics from your device
- Customizable text, shape, and drawing layers
- Time-saving keyboard shortcuts
- Canvas rotation to easily work on various body panels
- Real-time sharing and collaboration features
- Export & download as an iRacing-compatible TGA file
- The ability to assign your project as a custom paint in Trading Paints
- The ability to share your project in the Trading Paints Showroom
- Change the appearance and finish (spec map) of each layer of your car (beta)
This guide will explain the anatomy of Paint Builder screens and portions of the user interface.
My Projects
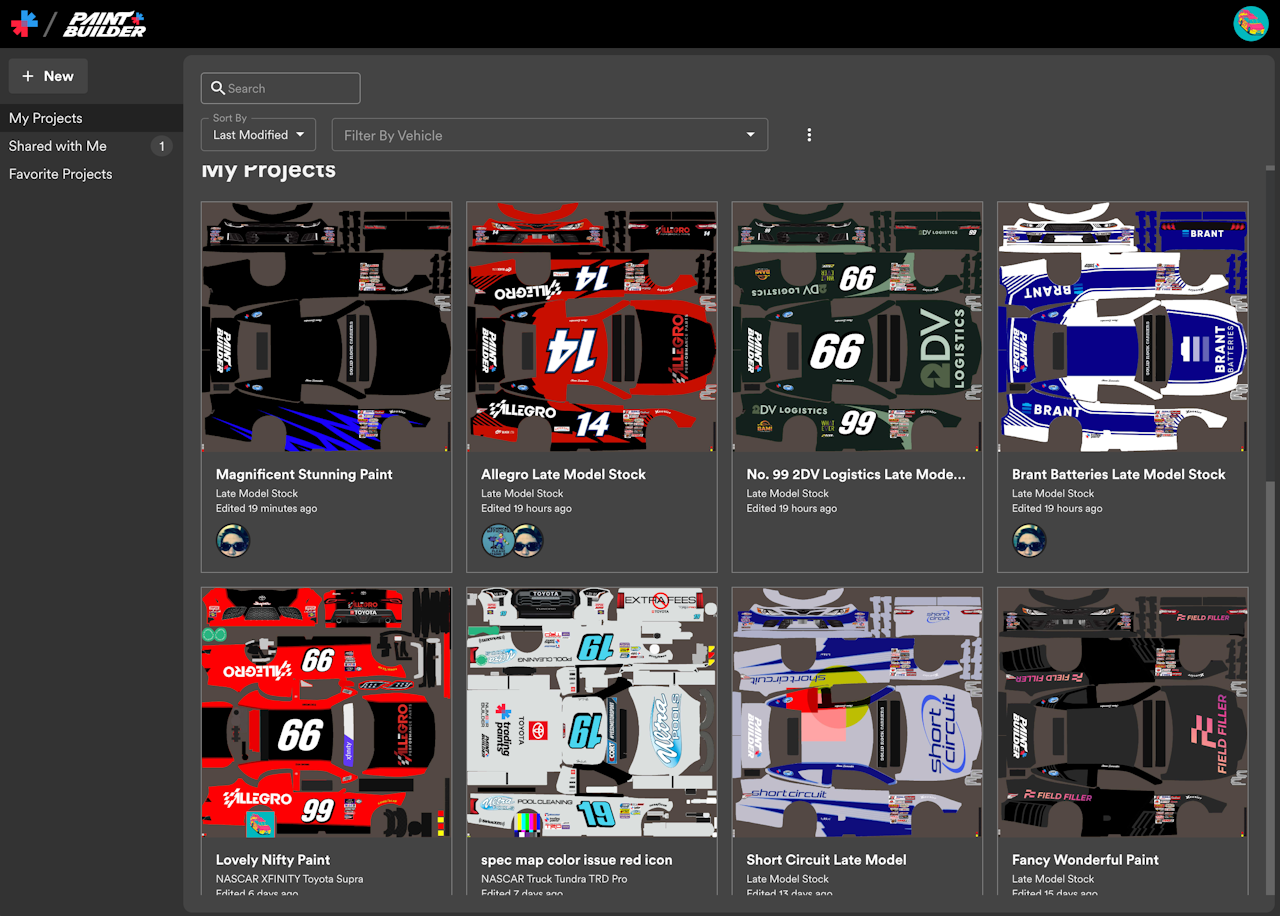
The My Projects screen is the first screen you’ll see in Paint Builder. It contains a list of all of your Paint Builder projects; select a project to open the editor screen.
You can filter your projects by keyword or vehicle, and sort the results.
Select New from the sidebar to create a new project, navigate to projects shared with you from other members by selecting Shared with Me, and view your projects you’ve starred by selecting Favorite Projects.
Project Editor
The project editor screen is where the fun happens!
Manage layers, insert items, and perform actions to your project. Turn a blank slate into your very own creation.
Share, Download, or Race your project as a paint on Trading Paints.
All changes are saved automatically.
Tools Menu
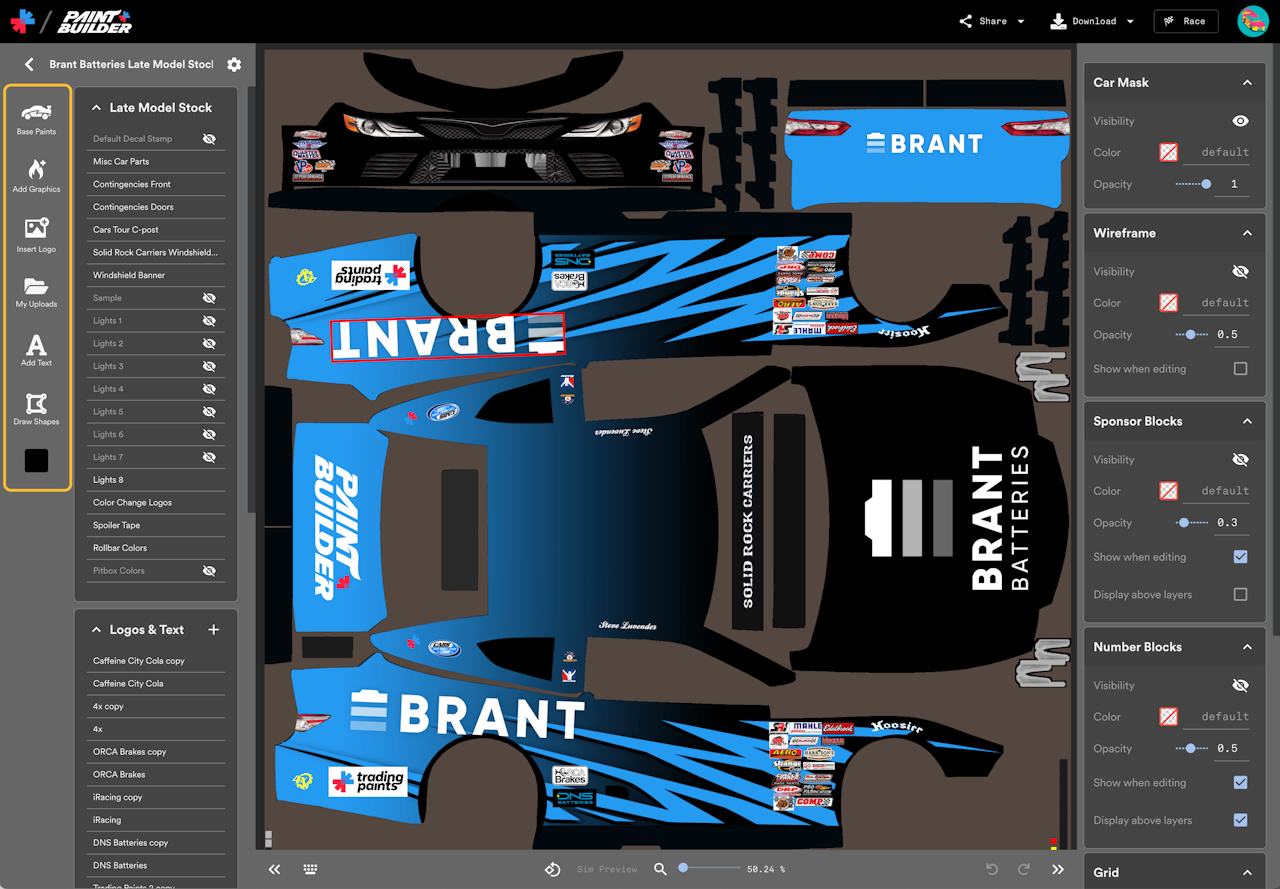
The Tools menu provides options to adding items to your project.
- Base Paints: add customizable patterns to your project
- Add Graphics: insert any of hundreds of pre-made original decals, like flames, splashes, graffiti, and more, which can be highly customized
- Insert Logo: add a pre-made logo to your design from our collection of fictional brands or Trading Paints partners
- My Uploads: insert your own graphics or logos from your computer
- Add Text: customize and add text anywhere onto your project
- Draw Shapes: Freehand drawing tools and customizable shapes let you make your own creations right from Paint Builder
Layers List
The Layers list shows a list of the items on your project.
Click a layer from the Layers list to select it on the canvas, or click an item on the canvas to highlight it on the Layers list.
On the Layers list, you can click and drag a layer to reorder it higher or lower than other items if you wish.
Hover over an item in the Layers list to see options to hide/show or lock a layer.
The Layers list is separated into three groups:
- Car Parts: The built-in template layers for the current vehicle, including items like color-changeable manufacturer logos, rollbar colors, and windshield banners. Using the Painting Guides sidebar menu, you can determine if you want Car Parts to appear above or below your other layers.
- Layers: Any drawn shapes, graphics, text or logos you add to your project are organized in this group.
- Base Paint: Base Paint patterns appear at the bottom of other layers since they’re the items closest to the body of the car. The car’s background color is defined in this area.
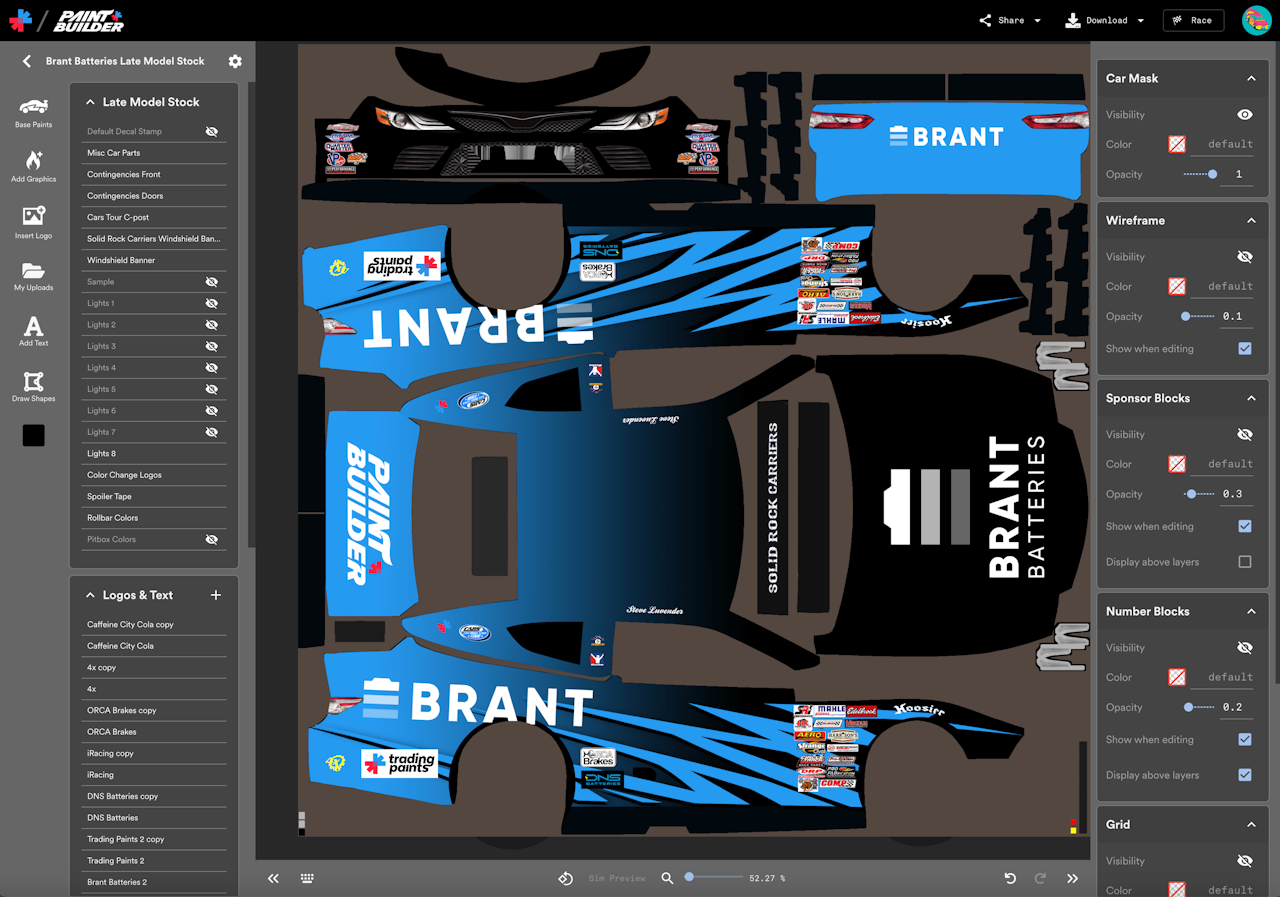
Properties Panel
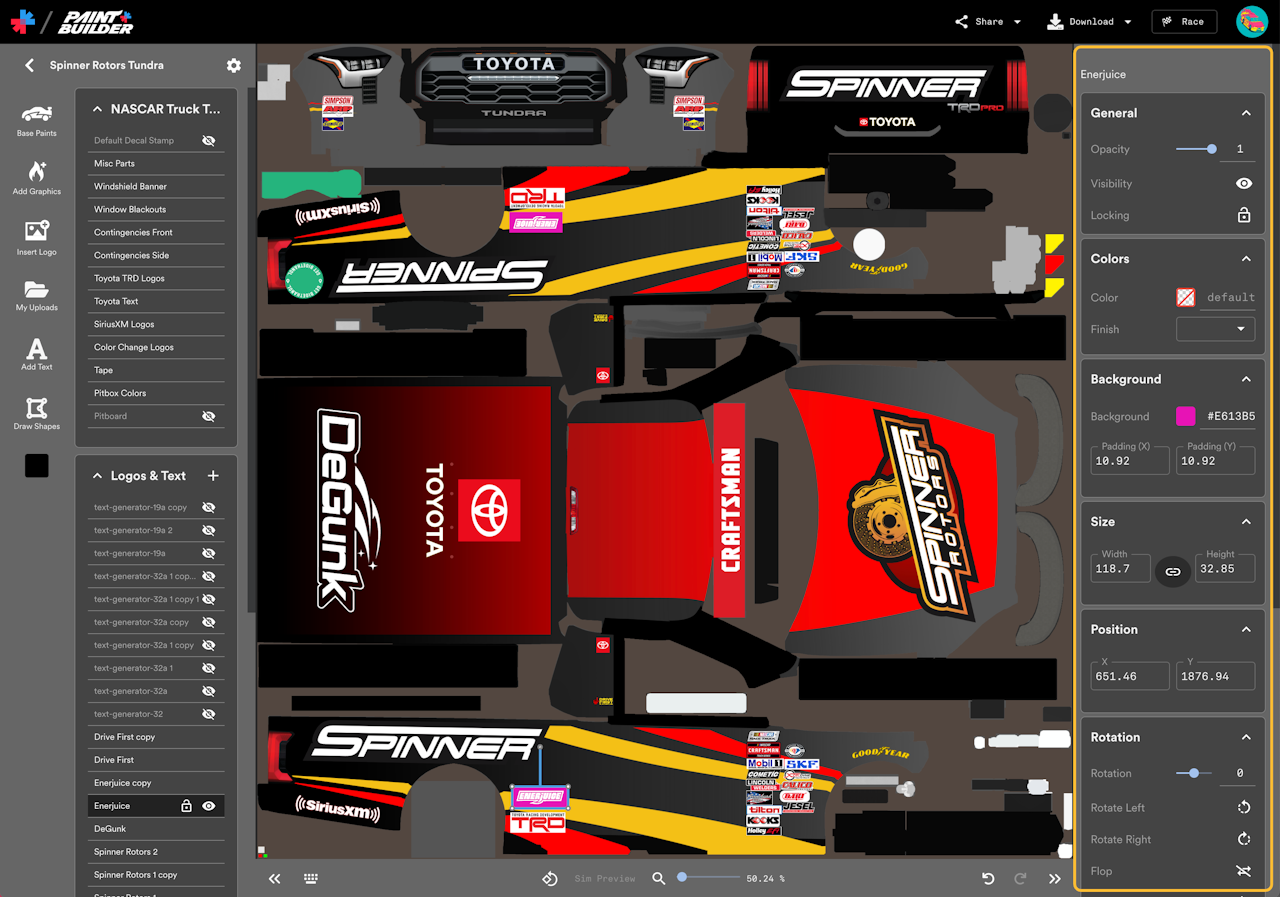
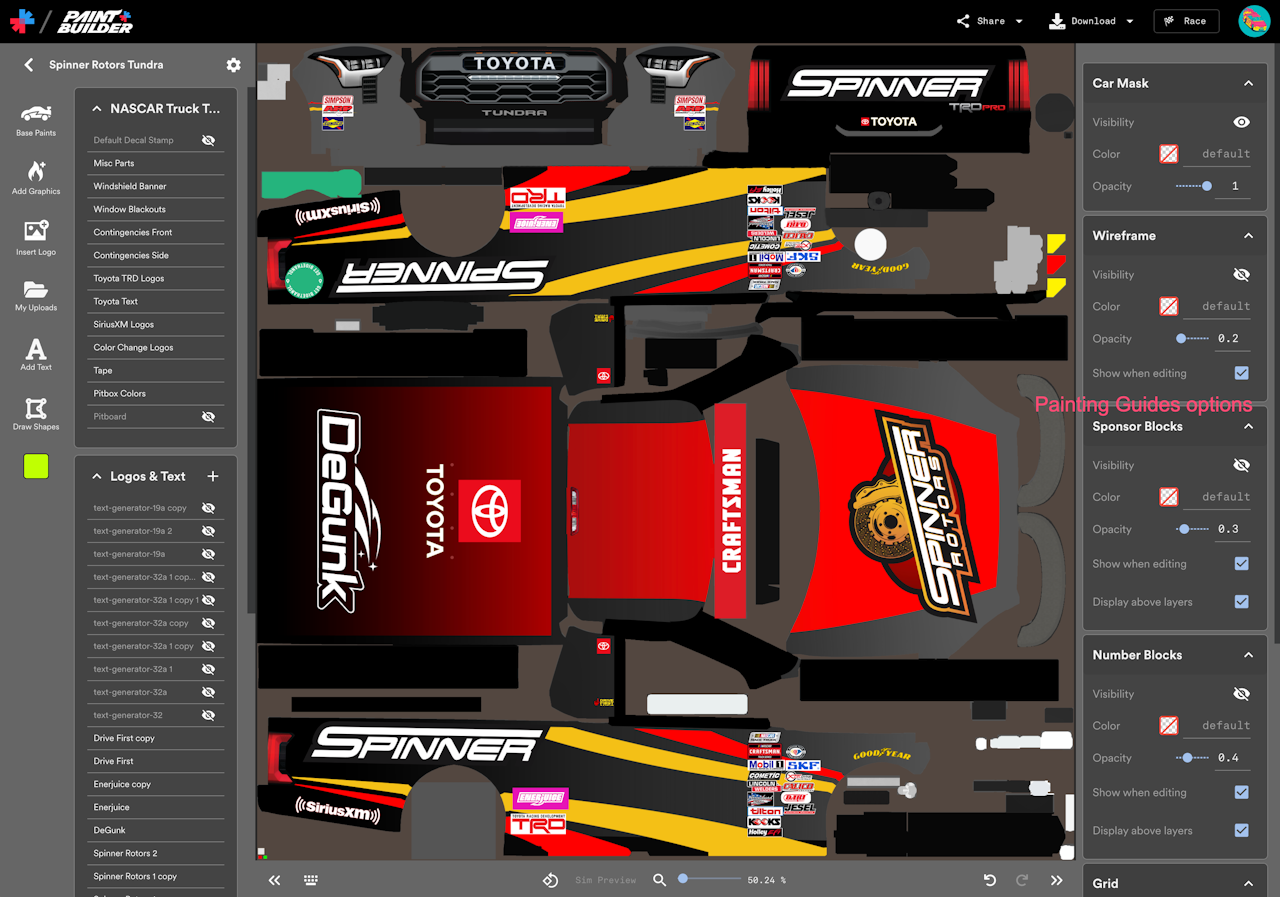
The sidebar properties panel shows options for the selected layer. If no layers are selected, the Painting Guides options appear.
Hide the properties panel by clicking the double-arrow collapse menu in the bottom-right of the screen.
Display Options
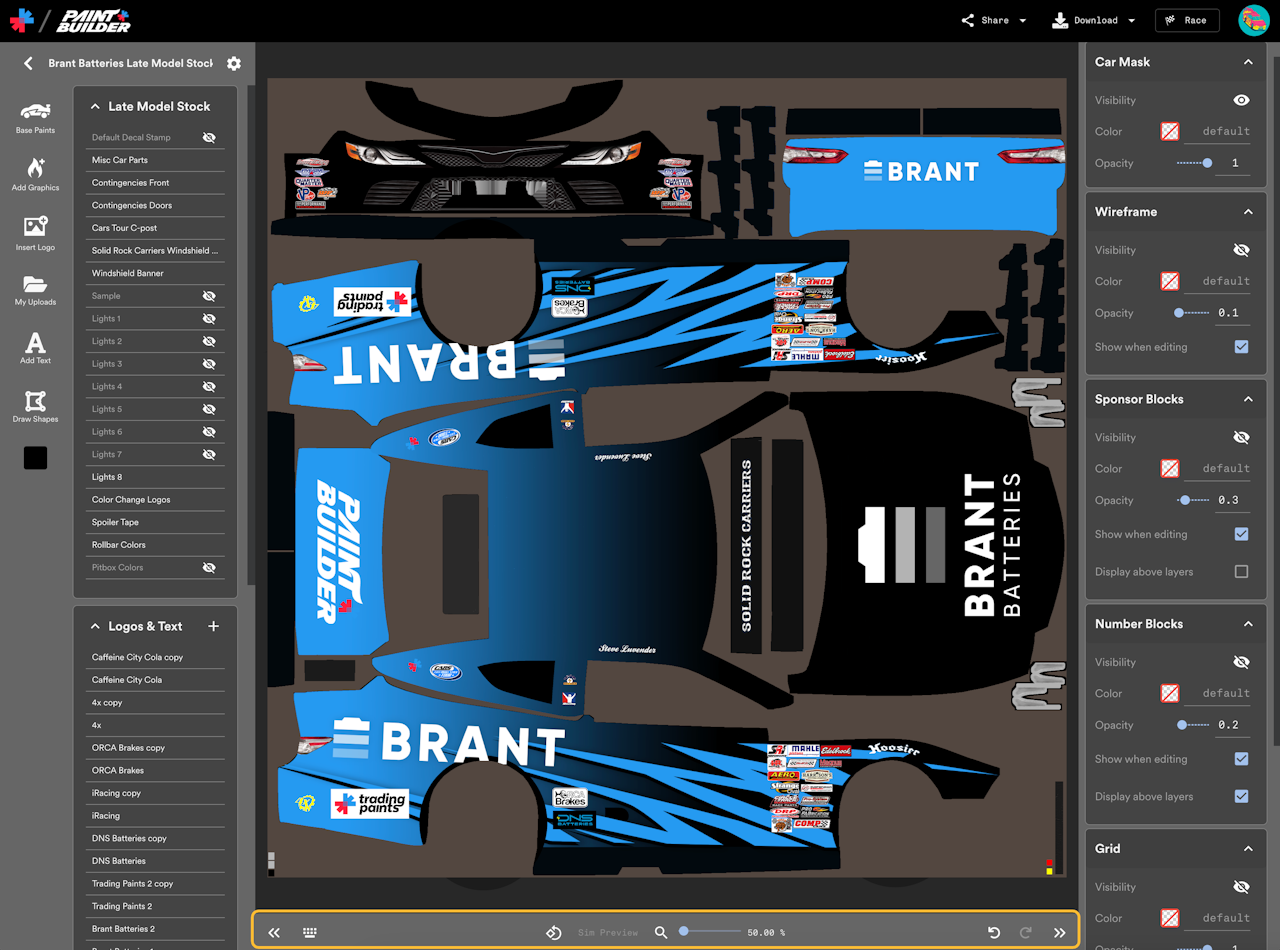
The bottom bar offers options to help your display.
- Toggle Layers: Collapse or expand the Layers list.
- Shortcuts: Show all Paint Builder keyboard shortcuts.
- Rotate View: Rotate the view of the canvas to more easily work on different panels of the car without working upside down.
- Sim Preview: If Trading Paints Downloader is running, send the current project to the Downloader so you can preview your project in iRacing.
- Zoom: Change the visible size of the project using the slider or percentage text. Or, click the magnifying glass icon to zoom to fit — making the entire canvas area viewable on screen.
- Undo & Redo: Revert changes in your current painting session.
- Toggle Properties: Collapse or expand the Properties panel.
Project Actions
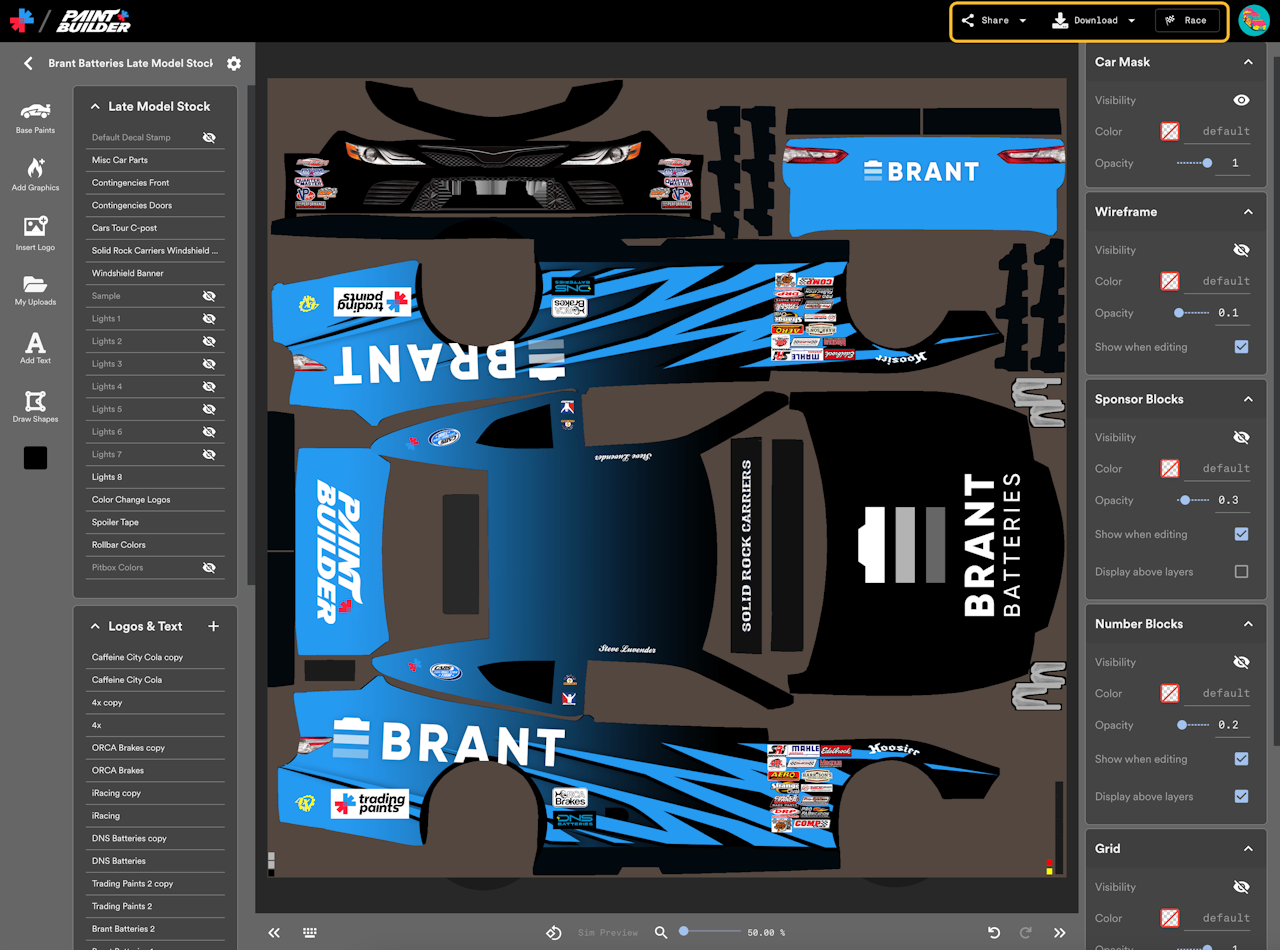
The Actions bar at the top of the screen provides next steps.
- Share: Collaborate with other Paint Builder users or submit your project to the Trading Paints Showroom.
- Download: Get an iRacing-compatible TGA file of your project.
- Race: Options to race your project as a custom iRacing paint on Trading Paints.
Accessing Paint Builder
You’ll need a Trading Paints Pro membership in order to use Paint Builder.
Once you’ve upgraded your account, you can access Paint Builder from the Paint Cars menu of the Trading Paints website.