Adding a logo to your Paint Builder project
Adding a logo to your Paint Builder project
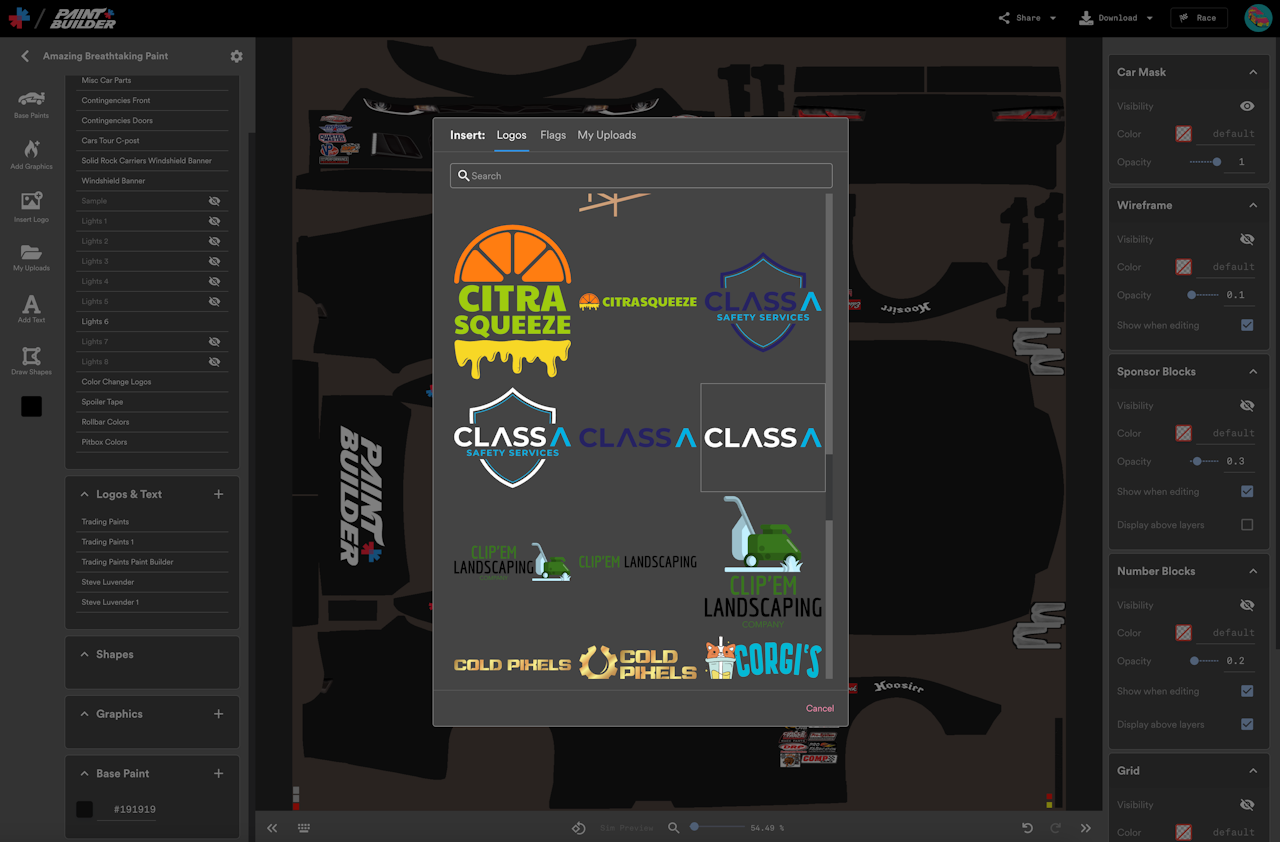
Paint Builder contains hundreds of premade logos that you can insert into your projects. These logos include Trading Paints brands logos, partner logos, and logos for fictional, nonexistent brands that were created just for Paint Builder. (Some longtime sim racers may even recognize a few familiar throwbacks!)
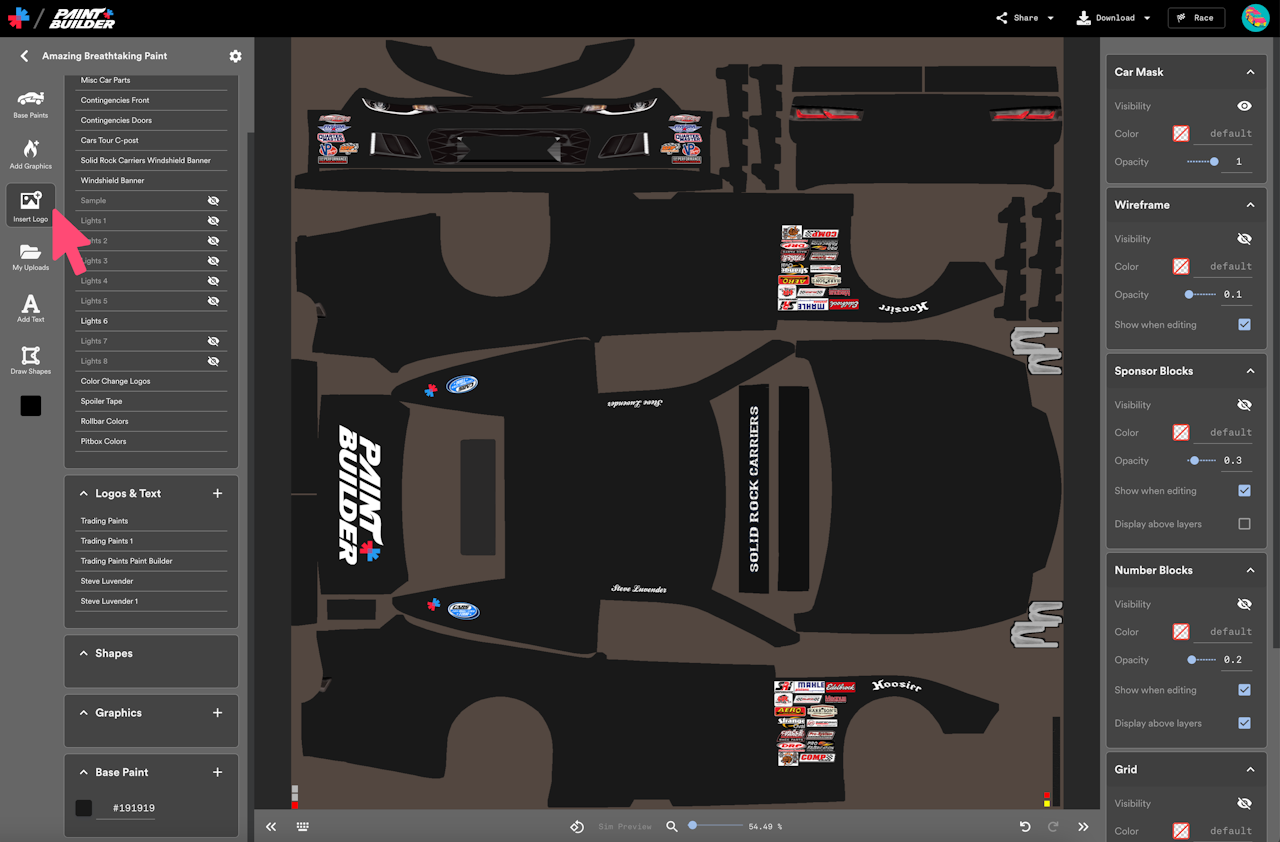
In the project editor, click Insert Logo from the tools menu. Browse or search for a logo and click it to add it to your project.
You can also upload your own logos to your Paint Builder projects, but for the sake of this guide, we’re focusing on inserting premade logos.
Customizing a logo on your Paint Builder project
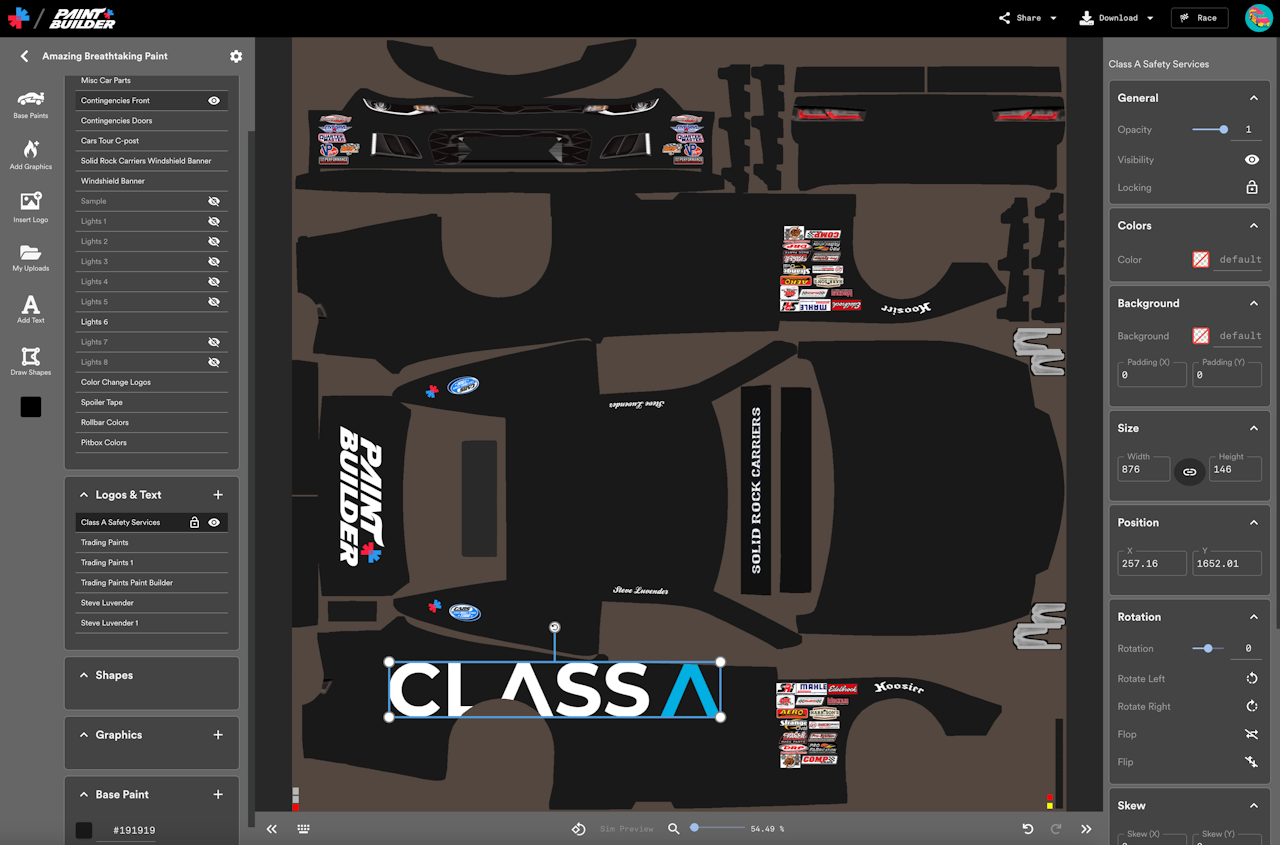
After inserting a logo onto your Paint Builder project, you can use the sidebar Properties panel to make adjustments to the selected logo’s appearance.
General
- Opacity: Change the transparency of the layer
- Visibility: Hide or show the selected layer
- Locking: Lock the layer to prevent accidental movement or changes
Rename the selected layer by entering a new name at the top of the sidebar properties panel, just above the General group.
Colors (premade logos only)
- Color: Change the fill color of the logo (available on some, but not all, premade logos. A color fill cannot be added to uploaded logos.)
Background
- Background: Change the background color of the logo to add a rectangle behind the logo for a sticker-like appearance
- Padding: Change the thickness of the outline (set to 0 to remove the stroke entirely)
Size
Manually set the size of the layer. You can also use the handles on the canvas area to change the size.
The lock button toggles locking and unlocking of proportions. If proportions are locked, any changes made to sizing will retain the layer’s current aspect ratio. If they’re unlocked, you can adjust the height and width independently.
If editing via the layer’s handles on the canvas area, you can hold Shift while dragging to temporarily change this option.
Position
Manually set the positioning of the layer on the canvas. You can also click and drag the layer on the canvas.
You can also use your keyboard’s arrow keys (or Shift + arrow keys to go faster) to reposition the selected layer on the canvas.
Rotation
- Rotation: The value in degrees that the layer is rotated from its original rotation.
- Rotate Left: Rotate the selected layer 90 additional degrees to the left.
- Rotate Right: Rotate the selected layer 90 additional degrees to the right.
- Flop: Mirror/reflect the selected layer horizontally.
- Flip: Mirror/reflect the selected layer vertically.
You can also use the rotation handle to rotate the selected layer on the canvas.
Skew
Distort the selected layer by slanting it on either its X or Y axis. A little bit goes a long way!
Shadow
- Shadow Color: The color of the outer glow or shadow on the selected layer. Remove the color fill to disable the shadow.
- Opacity: The visibility & transparency of the shadow. Higher opacity is more visibility.
- Shadow Blur: The density of the shadow. A low number will display an almost solid shadow, while a higher number will blur the shadow further from the layer, creating almost an airbrush effect behind the layer.
- Offset: Change the positioning of the shadow relative to the layer.
Tip: Use the Sponsor Blocks Painting Guides if you’re not sure where to place logos.